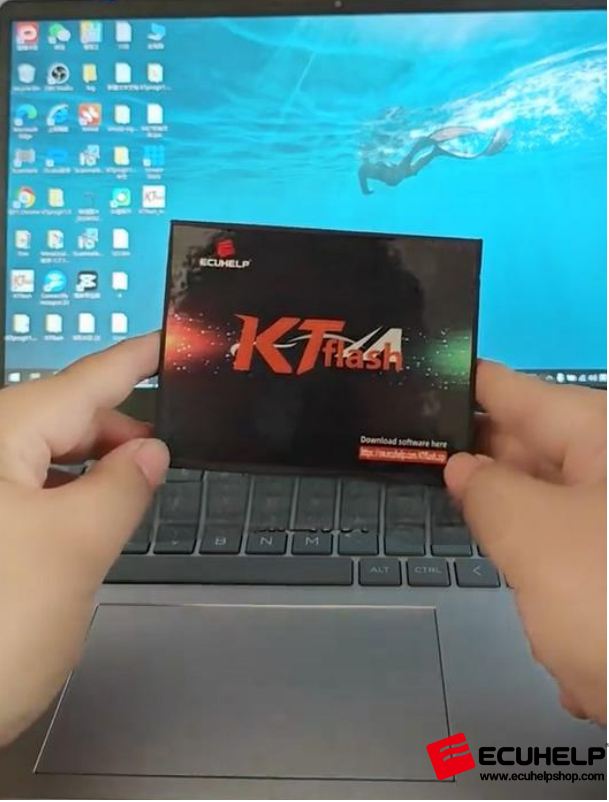
How to use ECUHELP KTflash Dongle?
What is ECUHELP KTflash Dongle Used for?
ECUHELP KTflash Dongle is a specialized ECU programming tool used for:
- Reading and writing ECU/TCU data
- Clone ECU
- Automatic checksum correction and more
- DTC OFF (Disabling Diagnostic Trouble Codes)
- IMMO OFF (Disabling Immobilizer)
- TProt OFF (Bypassing Tuning Protection)
Refer to the
KTflash support list for specifically what it can work.
This manual provides a step-by-step guide on how to set up and use the KTflash Dongle.
Step 1: Software Download & Installation
Requirements:
Windows 10 or Windows 11 (64-bit recommended)
Antivirus software/Firewall must be disabled during installation
Installation Steps:
Plug the KTflash Dongle into your computer’s USB port.
Visit ECUHELPshop.com and go to the
"Downloads” section.
Download the KTflash software.
After downloading, click “Open” to begin the one-click installation.
The software does not require complex setup — simply install and run.
 Step 2: Activate the KTflash Dongle License
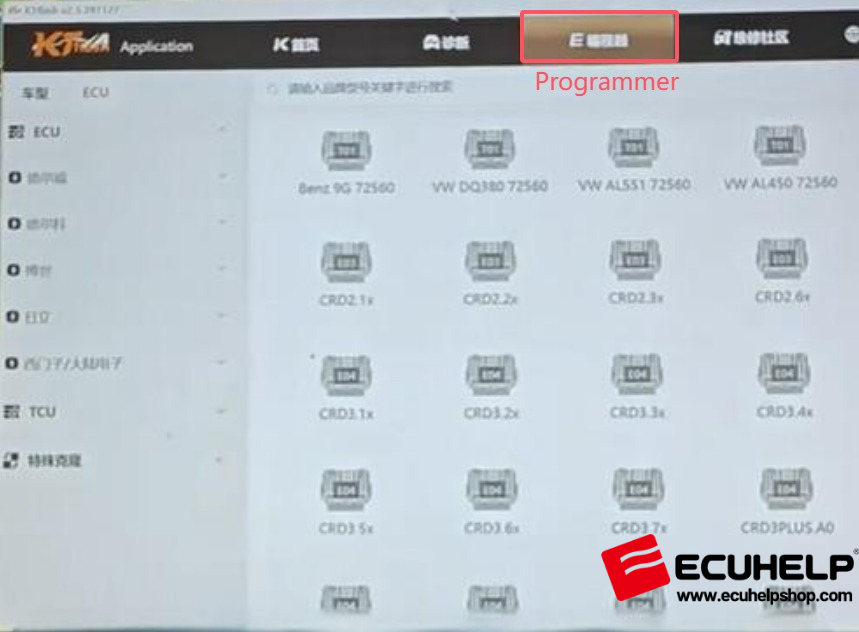
2.1 Launch the KTflash Software
Step 2: Activate the KTflash Dongle License
2.1 Launch the KTflash Software
Open the software and click on “Programmer” to view the supported ECU models.
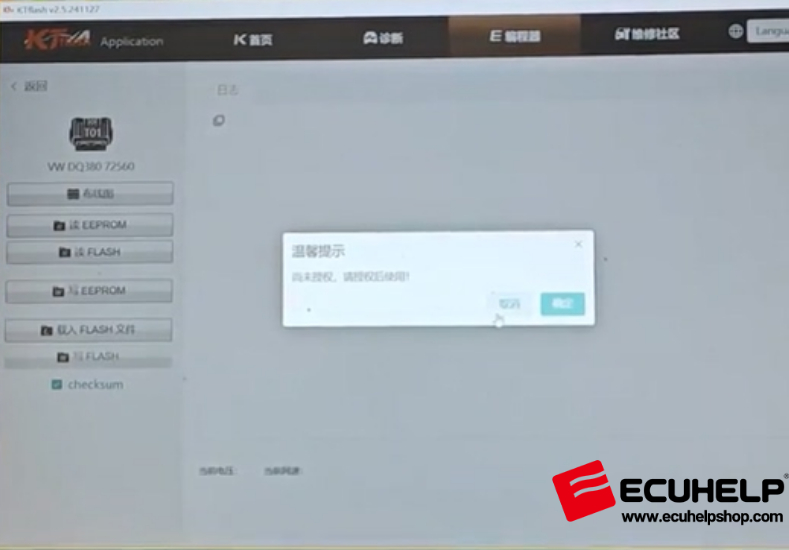
 2.2 License Activation Required?
If the ECU models appear grayed out and cannot be selected, it means they are not activated yet.
The software will prompt you to activate.
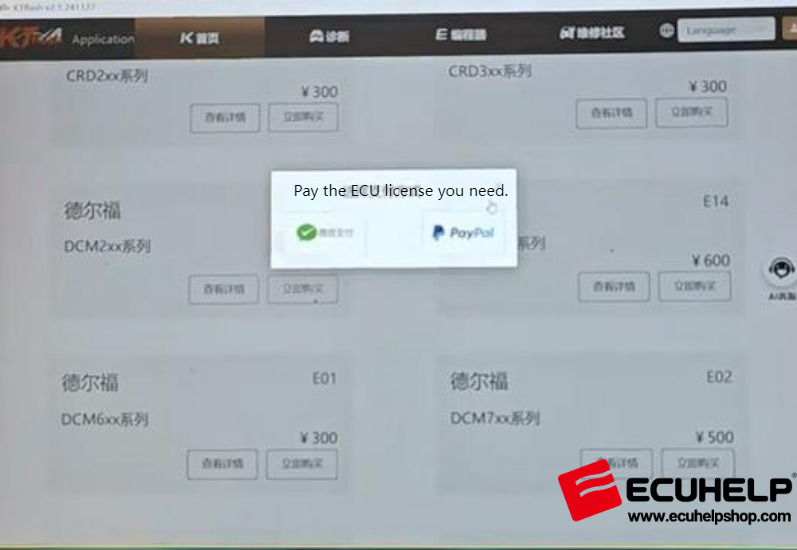
 2.3 How to Activate:
Return to the software homepage.
Select the ECU model or protocol you wish to activate and follow the payment instructions.
Alternatively,
activate the KTFlash protocol directly on ECUHELPshop.com.
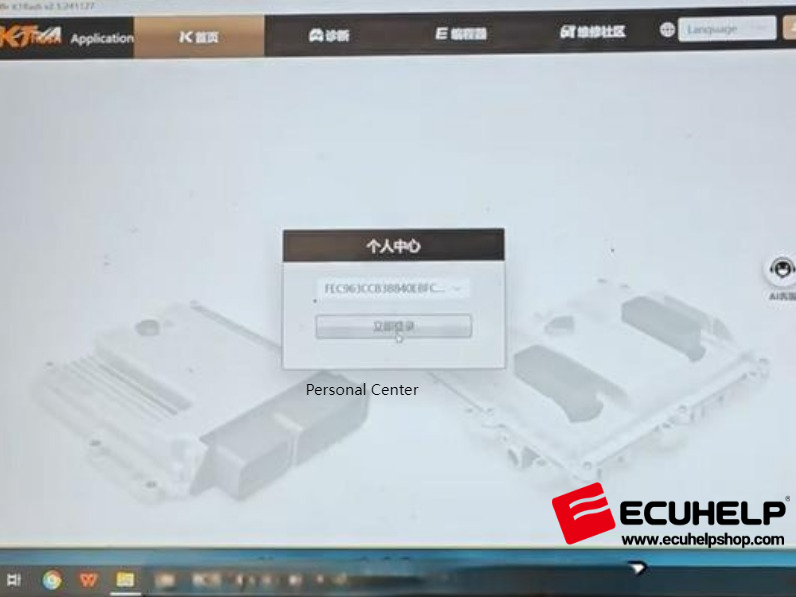
Login Required: Click the avatar icon in the top-right corner to log into your dongle account before activation.
 2.4 Free Features (No Activation Needed):
- Maintenance Community
- Bosch Number Query – input the Number on the ECU box to query what the ECU of it?
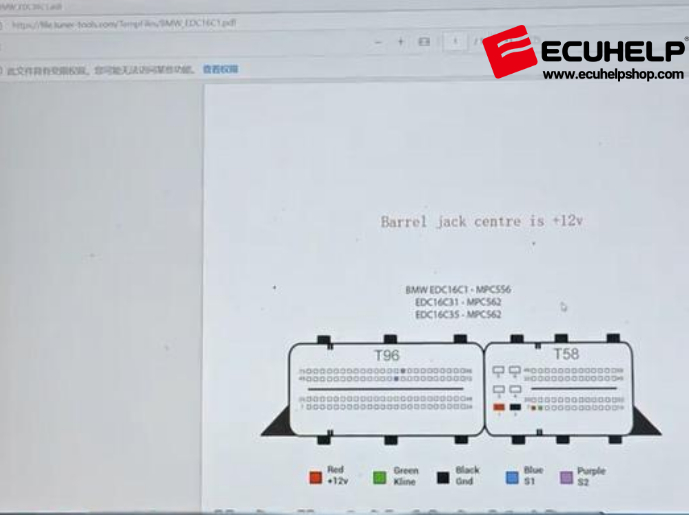
- Wiring Diagrams
- Virtual Files
 Step 3: Dongle Binding & Recovery
To protect your KTflash Dongle in case of damage or loss, it is highly recommended to:
Register and bind the dongle to your account.
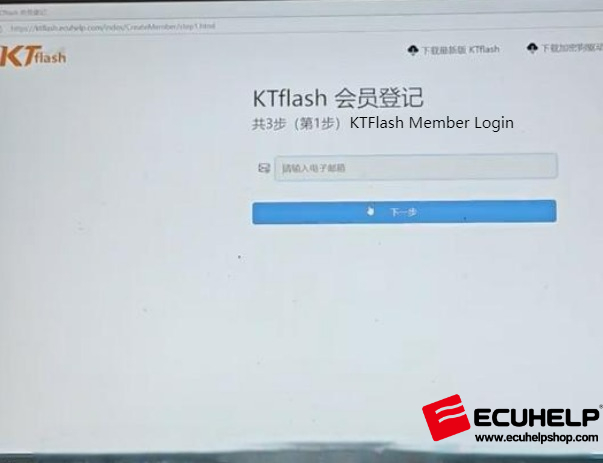
Go to the software homepage and complete the registration process (same as a normal account signup).
 Step 4: ECU Read/Write & Data Modification
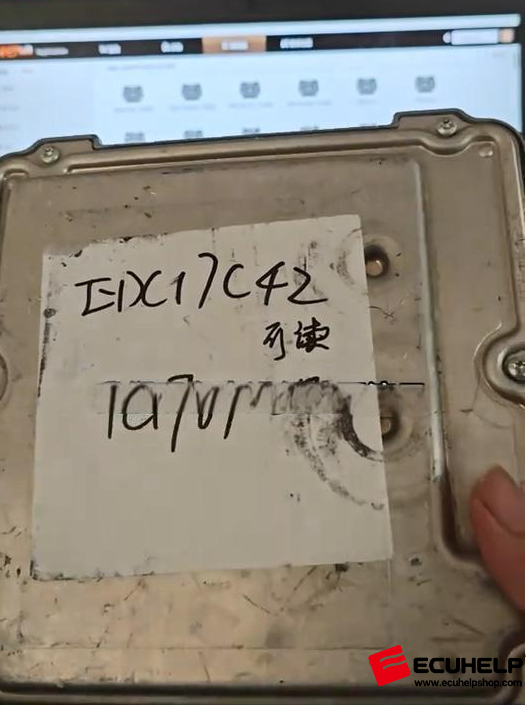
Example Model: EDC17C42
Step 4: ECU Read/Write & Data Modification
Example Model: EDC17C42
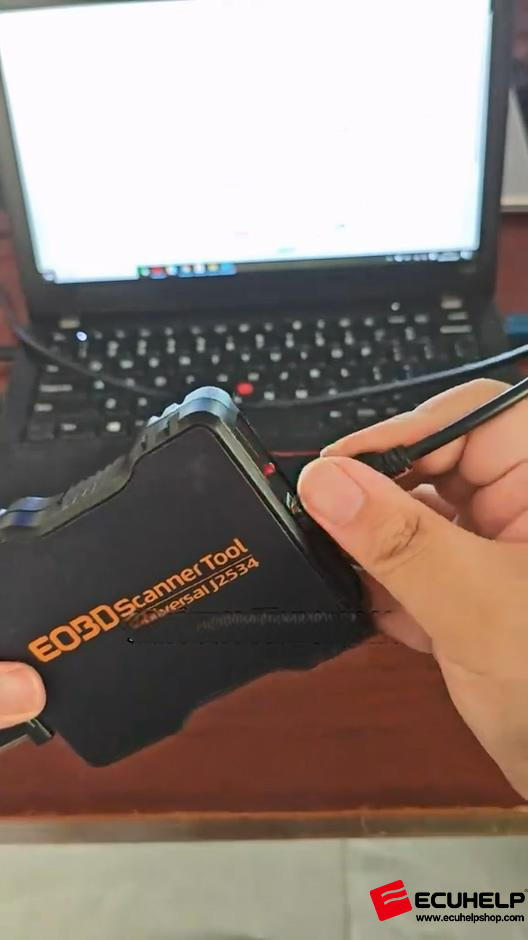
 4.1 Required Hardware:
KTflash Dongle
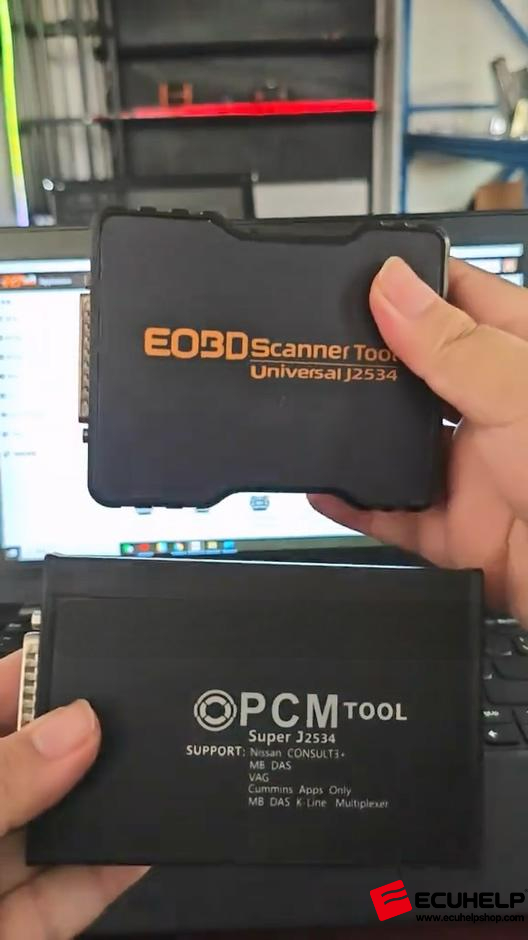
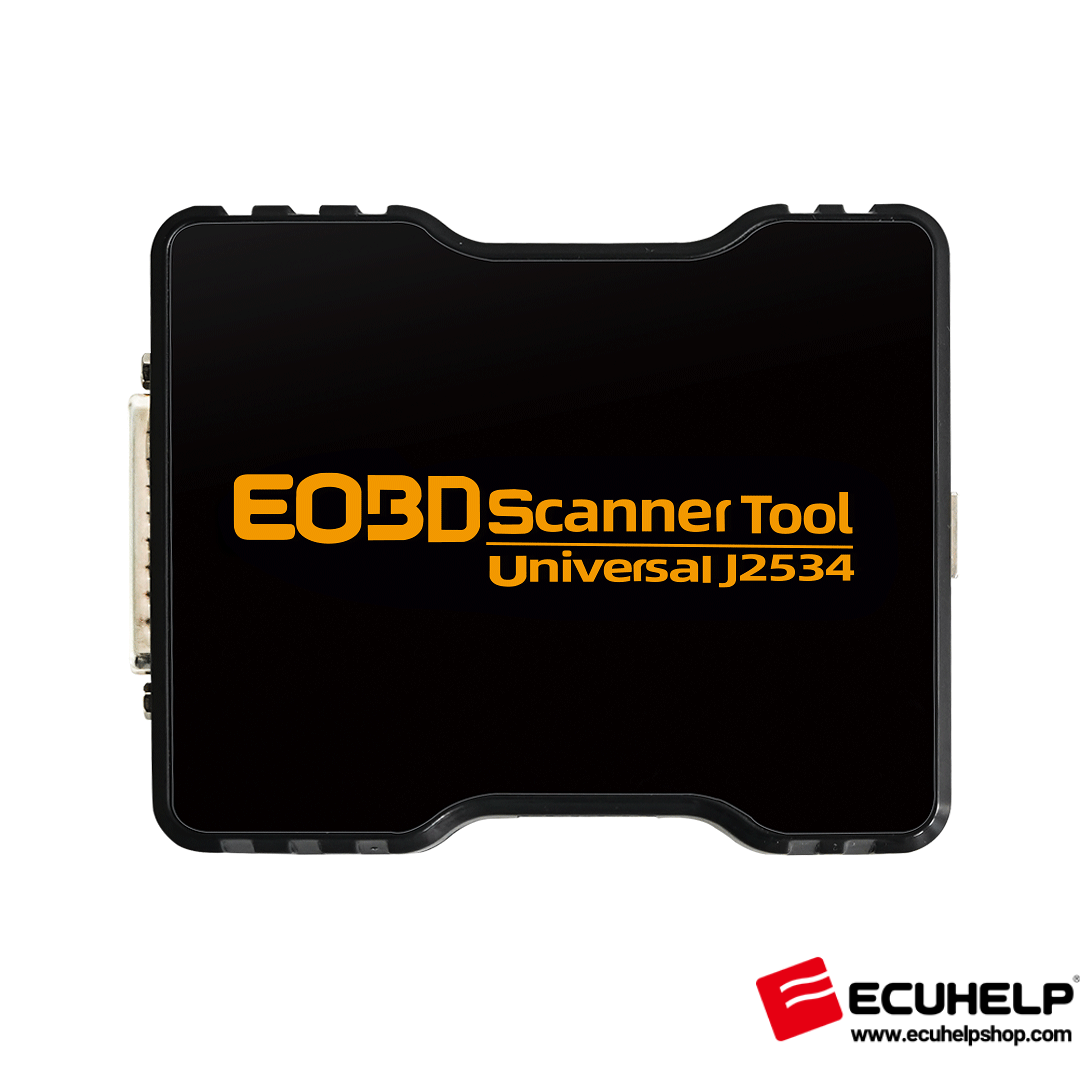
J2534 Interface Tool (ie. EOBD Scanner Tool Universal J2534, PCM Tuner, PCM Tool, Scanmatik, K-T-M Tool etc)
Recommended:
EOBD Scanner Tool Universal J2534 (from ECUHELP)
USB cable
12V power supply (3A)
Note: Different J2534 tools require specific drivers, for the driver download, visit the ECUHELPshop.com “Downloads” section or message WhatsApp: +8618205996549, KTflash driver is as the same as KT200Plus.
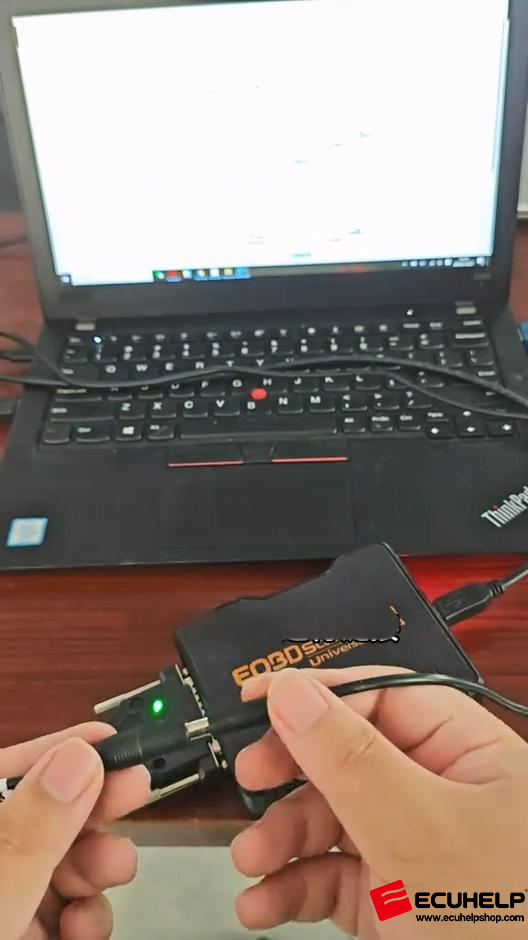
 4.2 Operating Procedure
A. Search for Your ECU
Use the keyword search in KTflash software to find your ECU model (e.g., EDC17C42).
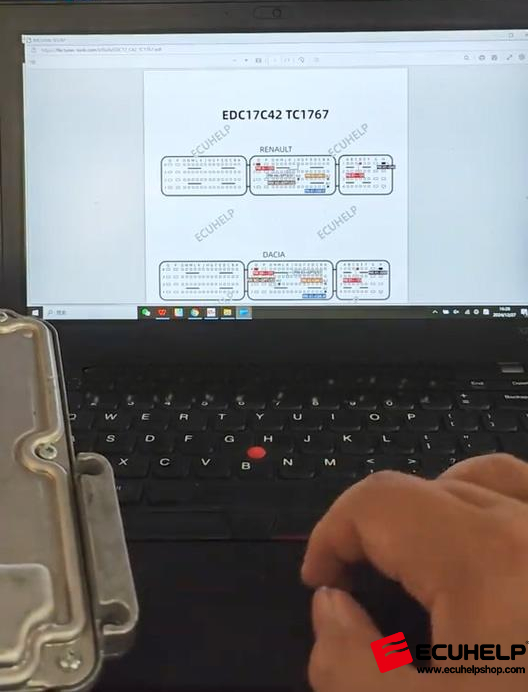
B. Wiring & Connection
Follow the wiring diagram provided in the software for your ECU.
Connect:
Bench cable to ECU
J2534 interface to computer via USB
Power supply to the setup

 C. Start Programming
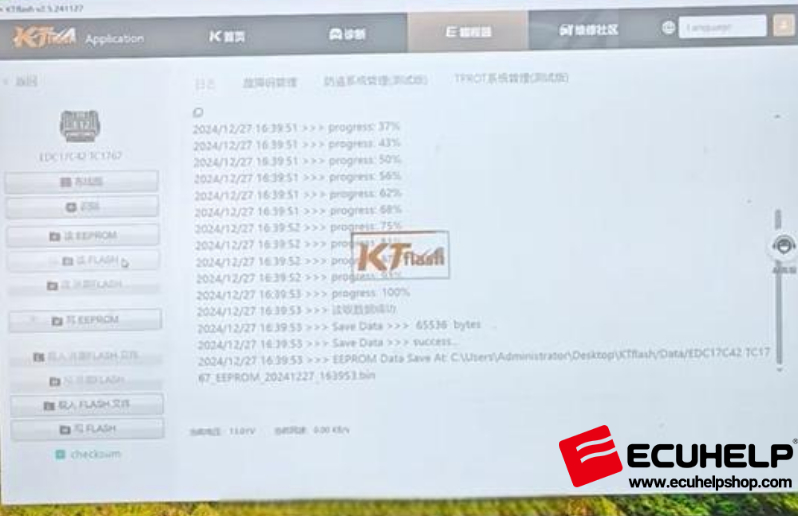
Click “Identify” to detect the ECU chip.
Read and write EPROM file — the software will prompt where to save the file.
Proceed to read and write flash files.
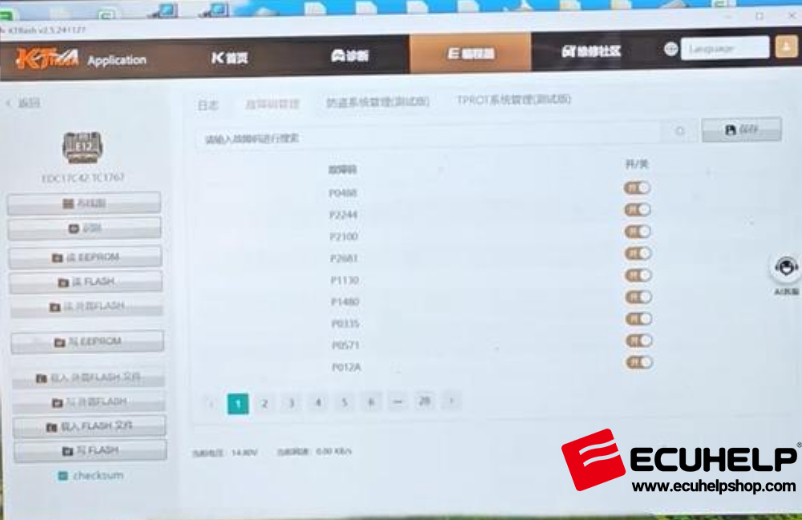
 4.3 Data Modification
DTC OFF
4.3 Data Modification
DTC OFF
Load your flash file first (do not select a faulty file).
Go to “Fault Code Management”.
Select the DTC codes you want to disable.
Click Save.
 IMMO OFF
After loading the correct file, click IMMO OFF to disable the immobilizer.
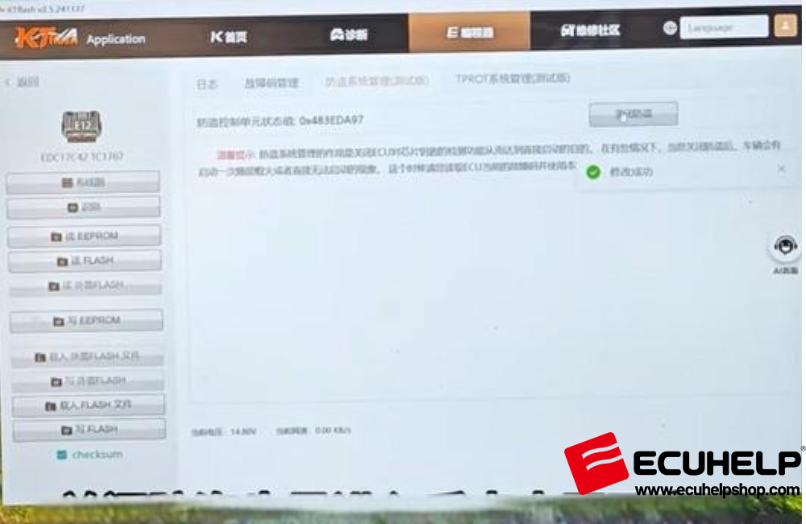
TProt OFF
Use this if the car fails to start after IMMO OFF.
It disables tuning protection, allowing the engine to start.
4.4 Write Back to ECU
Click “Write” to finalize programming.
The software performs automatic checksum correction before writing.
Conclusion:
Once the writing process finishes:
Your ECU has been successfully read, written, and modified with
KTflash.
You may now disconnect and reinstall the ECU.
![[EU Ship] ECUHELP KT200 II ECU Programmer Full Version with Offline Dongle for Car Truck Motorbike Tractor Boat,R/W ECU Bench/OBD/BOOT/BDM /Jtag Mode](/uploads/item-x300/171136130037011118.webp)
![[Suitcase] ECUHELP KT200 ECU Programmer, Read Write Car Truck via OBD / on Bench / in Boot Jtag [Get Free KTflash]](/uploads/item-x300/171567677819843923.webp)